Kubernetes on Proxmox: Provisioning Control Plane and Worker Nodes
Cloning a Proxmox VM template into Kubernetes control plane and worker nodes and preparing them for cluster bootstrap.
📚 Part of: Kubernetes Homelab
Overview
With our base VM template complete, the next step is provisioning the actual virtual machines that will form our Kubernetes cluster.
In this post, we’ll focus on the infrastructure side of Kubernetes rather than Kubernetes itself. The goal is to end with a set of clean, reachable Linux nodes that are ready for kubeadm in the next post.
For this setup, we’ll provision:
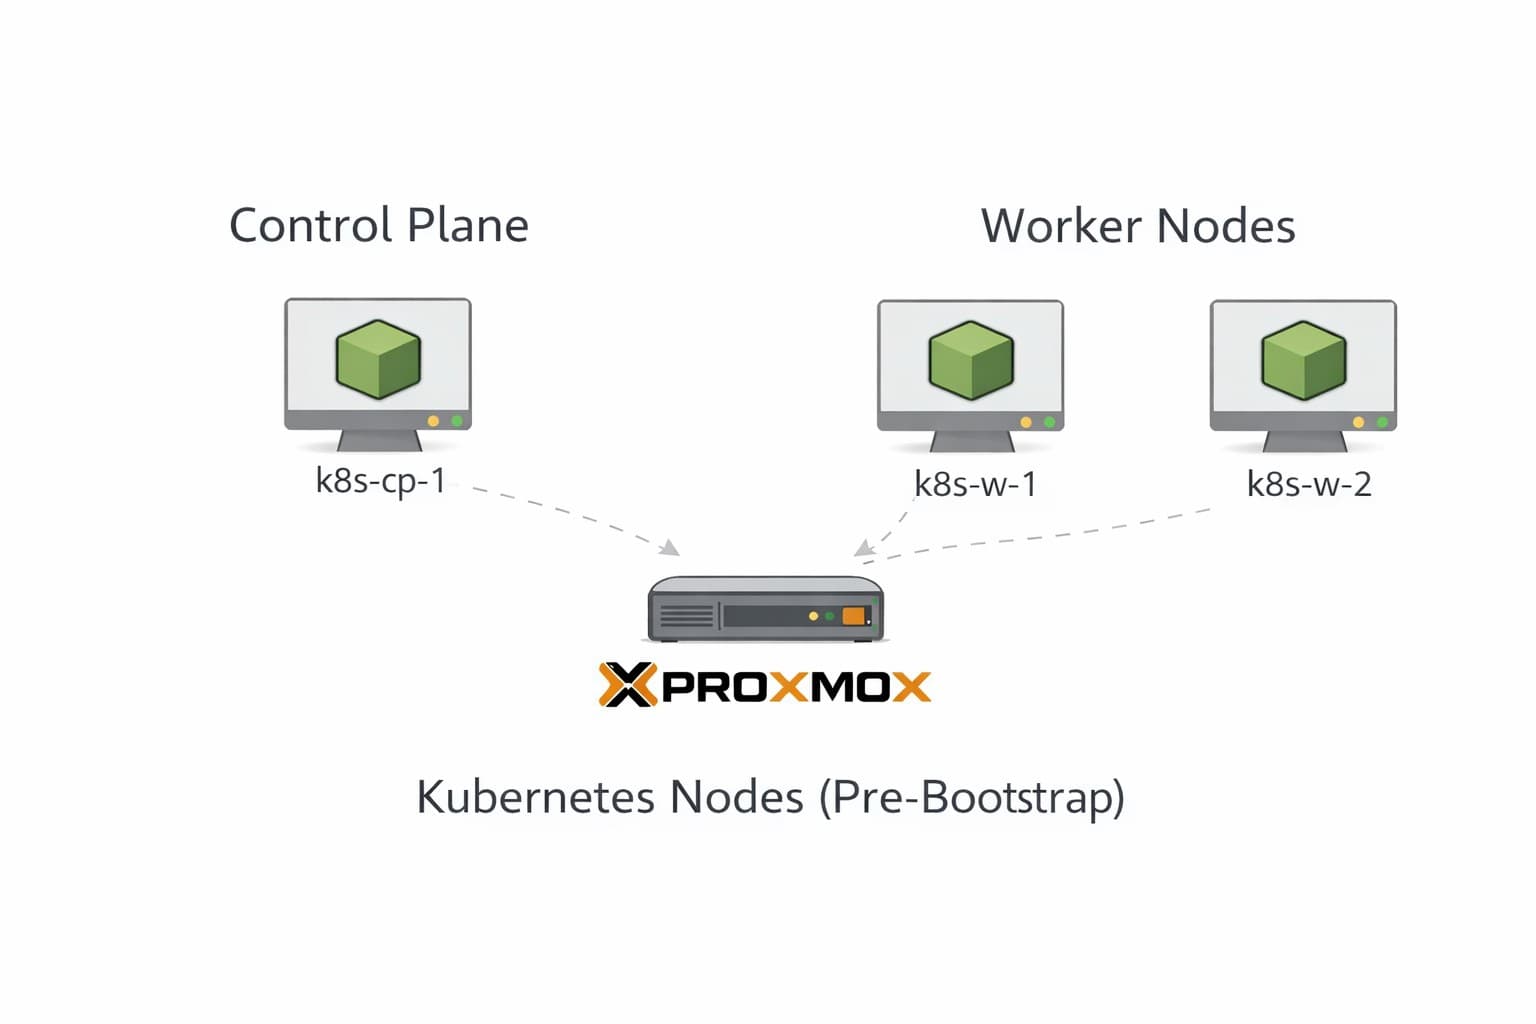
- 1 control plane node
- 2 worker nodes
This is a practical homelab topology that focuses on learning Kubernetes features while keeping resource requirements reasonable. For production environments, you'd typically run 3+ control plane nodes for high availability.
Why Separate Provisioning from Bootstrap?
It’s tempting to jump straight into Kubernetes installation, but separating these steps has real benefits:
- Clear separation between infrastructure and cluster logic
- Easier troubleshooting when something goes wrong
- Faster rebuilds when experimenting or iterating
- A more production-like mental model
At the end of this post, Kubernetes is not installed yet — and that’s intentional.
Node Layout and Sizing
Control Plane Node
The control plane node is responsible for:
- API server
- Scheduler
- Controller manager
- etcd
Recommended specs:
- Count: 1
- CPU: 2 vCPUs
- Memory: 4 GB RAM
- Disk: 40-60 GB
Worker Nodes
Worker nodes run application workloads.
Recommended specs:
- Count: 2
- CPU: 2-4 vCPUs
- Memory: 4-6 GB RAM
- Disk: 40-60 GB
Cloning the VM Template
All nodes will be created by cloning the base template built in the previous post.
Naming Conventions
Using predictable names makes debugging and automation much easier.
Control plane node:
k8s-cp-1
Worker nodes:
k8s-w-1k8s-w-2
Clone Steps (Proxmox UI)
For each node:
- Right-click the base VM template
- Select Clone
- Choose Full Clone
- Set the VM name (from the list above)
- Select the appropriate target node and storage
- Complete the clone
Repeat until all three VMs are created (1 control plane + 2 workers).
Adjusting VM Resources
After cloning, update each VM’s resources based on its role.
Control Plane VM
- Set CPU to 2 cores
- Set memory to 4 GB
- Leave disk size unchanged
Worker VMs
- Set CPU to 2-4 cores (depending on your available resources)
- Set memory to 4-6 GB
- Leave disk size unchanged
SSH Access
As part of template cleanup, SSH host keys are removed to avoid duplication across nodes. On first boot of a cloned VM, SSH host keys must be regenerated:
sudo ssh-keygen -A
sudo systemctl restart ssh
Networking Configuration
All nodes are attached to the Kubernetes VLAN (vmbr30).
IP Addressing Strategy
For now, we’ll rely on DHCP to assign IP addresses:
- Simplifies initial setup
- Easy to change later to static or reservations
- Works well in homelab environments
Once the VMs boot, verify that each node receives an IP address in the expected subnet.
ip a
Take note of each node’s IP — you’ll need them for SSH access.
Initial Node Verification
Before moving on, verify that every node is reachable and healthy.
SSH Access
From your workstation:
ssh k8sadmin@<node-ip>
Confirm:
- Login works
- Hostnames are correct
- Network connectivity is stable
Hostname Validation
On each node:
hostnamectl
If needed, set the hostname manually:
Replacing the k8s-cp-1 with each name respectively per virtual machine being configured.
sudo hostnamectl set-hostname k8s-cp-1
(Reboot after changing the hostname.)
Disk Visibility (Important for Longhorn Later)
Before installing Kubernetes, ensure worker nodes see their disks correctly.
On worker nodes:
lsblk
You should see:
- Root disk
- Sufficient free space for future storage workloads
We’ll rely on this later when configuring Longhorn.
Baseline Readiness Checklist
At this point, you should have:
- 1 reachable control plane VM
- 2 reachable worker VMs
- SSH access to all nodes
- Correct hostnames set
- Networking verified
No Kubernetes components should be installed yet.
What’s Next
With the infrastructure in place, the next step is bootstrapping Kubernetes itself.
In the next post, we’ll:
- Install Kubernetes components
- Initialize the control plane with
kubeadm - Join worker nodes
- Install Calico for cluster networking
➡️ Next: Kubernetes on Proxmox – Bootstrapping the Cluster with kubeadm
Real-World Platform Engineering in Your Inbox
One email a week. Deep dives on Kubernetes, homelab builds, platform tooling, and building in public from someone who does this for a living.
No fluff, no sponsored blasts. Unsubscribe any time.
Reach Engineers Who Build Platforms
My readers are Staff Engineers, Platform Engineers, and DevOps/SRE leads — the people who evaluate, buy, and recommend infrastructure tooling at their companies.
- → Sponsored posts, newsletter placements, and resource page features available
- → Audience: platform engineering, Kubernetes, GitOps, and homelab builders
- → Formats tailored to technical audiences — no generic ad copy
📚 Part of: Kubernetes Homelab
Related Posts
Kubernetes on Proxmox: Creating a Base VM Template
Setting up a reusable Linux VM template in Proxmox to power Kubernetes control plane and worker nodes.
Kubernetes on Proxmox: GitOps Automation with ArgoCD
Implement GitOps workflows for automated, declarative deployments using ArgoCD - manage your entire homelab from Git
Kubernetes on Proxmox: Secure Your Apps with HTTPS and cert-manager
Add automatic HTTPS with Let's Encrypt certificates using cert-manager, securing your Kubernetes applications with trusted SSL/TLS.