Kubernetes on Proxmox: Bootstrapping the Cluster with kubeadm
Installing Kubernetes components, initializing the control plane, and joining worker nodes on Proxmox.
📚 Part of: Kubernetes Homelab
Overview
With all control plane and worker VMs provisioned and reachable, it’s time to actually stand up Kubernetes.
In this post, we’ll install the Kubernetes components, bootstrap the control plane using kubeadm, join the remaining nodes, and install a CNI so the cluster becomes functional.
By the end of this post, you’ll have:
- A running Kubernetes control plane
- Worker nodes successfully joined
- Pod-to-pod networking enabled
- A cluster ready for workloads and storage
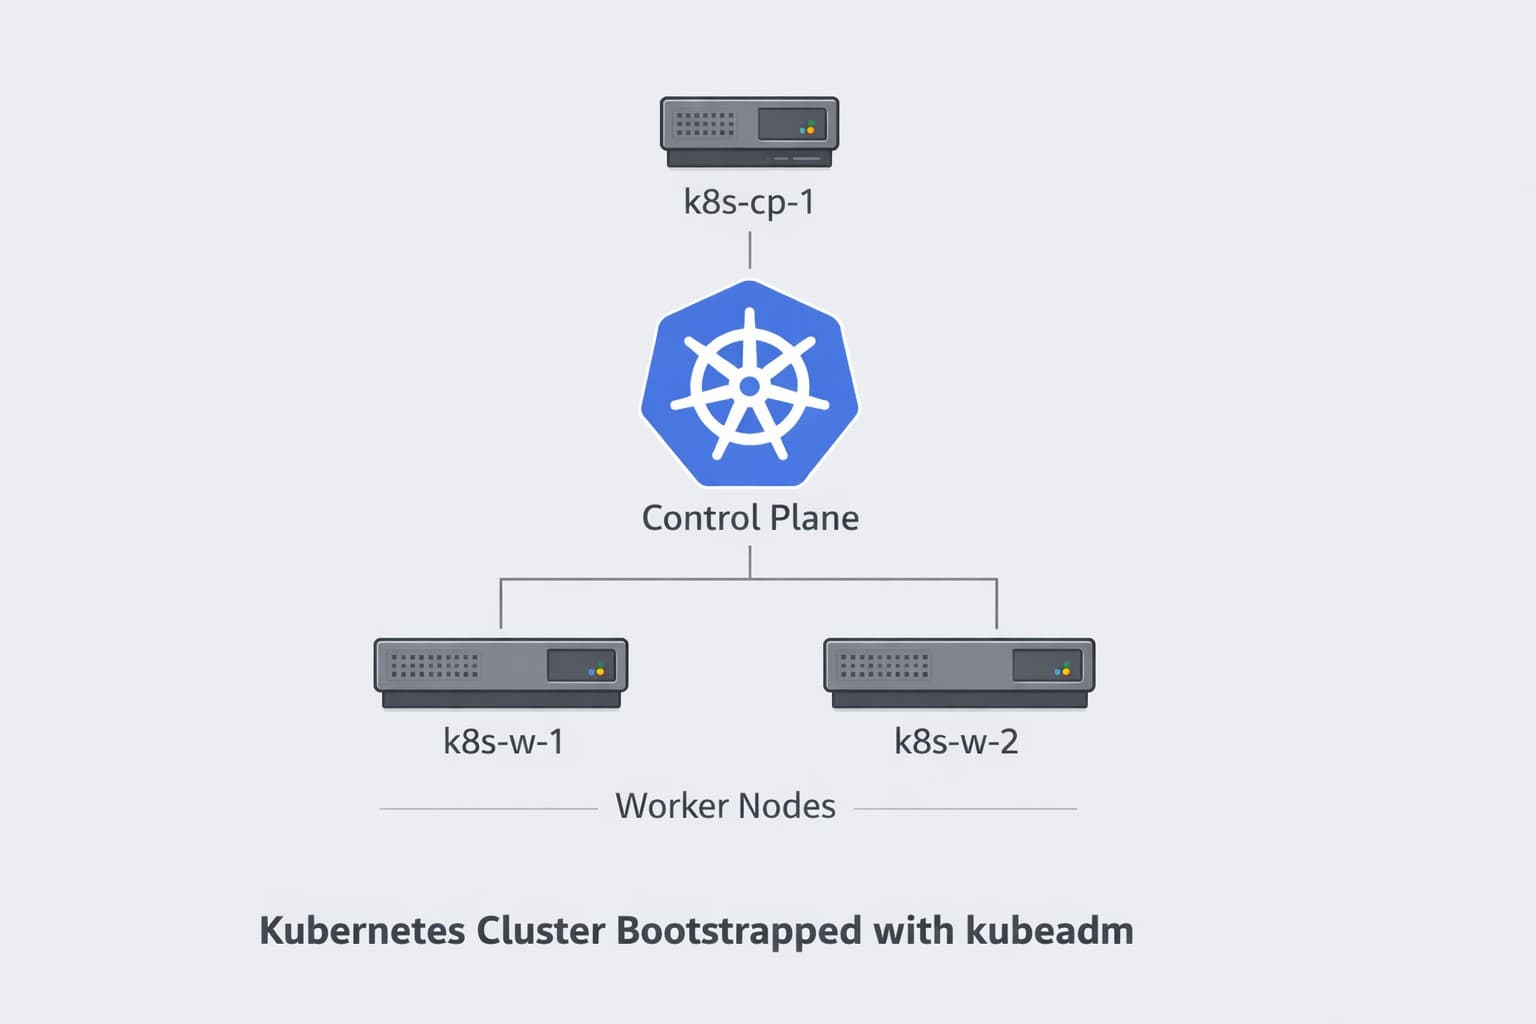
Cluster Topology
This cluster uses:
- 1 control plane node
- 2 worker nodes
- containerd as the container runtime
- Calico as the CNI plugin
All nodes were created from the same base VM template.
Why Single Control Plane?
For a homelab learning environment, a single control plane keeps resource requirements reasonable (4GB RAM is sufficient) while letting you focus on Kubernetes features like storage, networking, and workload management. Production clusters typically use 3+ control plane nodes for high availability, but that's not necessary for learning and experimentation.
Install Container Runtime (containerd)
Run the following on all nodes. This should already be done from the template but just to make sure.
sudo apt update
sudo apt install -y containerd
Generate and enable the default configuration:
sudo mkdir -p /etc/containerd
containerd config default | sudo tee /etc/containerd/config.toml
sudo systemctl restart containerd
sudo systemctl enable containerd
Verify:
systemctl status containerd --no-pager
Install Kubernetes Packages
Run on all nodes.
Install prerequisites:
sudo apt update
sudo apt install -y apt-transport-https ca-certificates curl conntrack
Add the Kubernetes apt repository:
Step 1: Add the GPG key
sudo mkdir -p /etc/apt/keyrings
curl -fsSL https://pkgs.k8s.io/core:/stable:/v1.31/deb/Release.key | sudo gpg --dearmor -o /etc/apt/keyrings/kubernetes-apt-keyring.gpg
Step 2: Add the repository
echo "deb [signed-by=/etc/apt/keyrings/kubernetes-apt-keyring.gpg] https://pkgs.k8s.io/core:/stable:/v1.31/deb/ /" | sudo tee /etc/apt/sources.list.d/kubernetes.list
Step 3: Install Kubernetes components
sudo apt update
sudo apt install -y kubelet kubeadm kubectl
sudo apt-mark hold kubelet kubeadm kubectl
Step 4: Enable kubelet service
Ensure kubelet starts automatically on boot:
sudo systemctl enable kubelet
While kubelet is typically enabled automatically during installation, explicitly enabling it ensures the service starts after VM reboots. This is especially important if you stop/start VMs in Proxmox for maintenance (like adding storage disks).
Disable Swap
Kubernetes requires swap to be completely disabled. If you didn't remove swap in the VM template, do it now:
# Disable swap immediately
sudo swapoff -a

# Comment out swap in fstab
sudo sed -i '/ swap / s/^/#/' /etc/fstab

# Remove the swap logical volume (if it exists)
sudo lvremove -y /dev/ubuntu-vg/swap_1 2>/dev/null || echo "No swap LV found (already removed in template)"

# Verify swap is gone
free -h
The output of free -h should show 0B for swap.
If swap isn't fully removed, kubelet will fail to start with "running with swap on is not supported" errors. The swap LV can persist through VM cloning, so it's important to verify it's gone on each node.
---

## Initialize the First Control Plane

Run **only on the first control plane node**.

**Initialize the cluster:**

```bash
sudo kubeadm init --pod-network-cidr=10.244.0.0/16
Flag explained:
--pod-network-cidr: Pod network range (must not overlap with node network). We're using10.244.0.0/16to avoid conflicts with our home network (192.168.x.x).
Timeout During Initialization?
If kubeadm init times out with an error like unable to create a new DNS service: the server was unable to return a response in the time allotted, don't panic! This is common and usually means the CoreDNS service creation took longer than expected.
The cluster is likely still functional. Continue with the kubectl configuration steps below to verify.
Configure kubectl:
mkdir -p $HOME/.kube
sudo cp /etc/kubernetes/admin.conf $HOME/.kube/config
sudo chown $(id -u):$(id -g) $HOME/.kube/config
Verify the cluster is working:
kubectl get nodes
You should see your control plane node listed (it will be NotReady until we install the CNI).
Retrieve the worker join command:
The kubeadm init output will include a join command for worker nodes. If you lost it, generate a new one:
kubeadm token create --print-join-command
Save this command — you'll need it to add your worker nodes.
Join Worker Nodes
Run the worker join command on both worker nodes (k8s-w-1 and k8s-w-2):
sudo kubeadm join <CONTROL_PLANE_IP>:6443 --token <token> \
  --discovery-token-ca-cert-hash sha256:<hash>
Replace <CONTROL_PLANE_IP> with your control plane node's IP address.
Verify from cp-1:
kubectl get nodes
You should now see all 3 nodes (1 control plane + 2 workers), all in NotReady state until we install the CNI.
NAME       STATUS     ROLES           AGE     VERSION
k8s-cp-1   NotReady   control-plane   7m34s   v1.31.14
k8s-w-1    NotReady   <none>          5m52s   v1.31.14
k8s-w-2    NotReady   <none>          5m44s   v1.31.14
Install Calico CNI
The CNI (Container Network Interface) provides pod-to-pod networking. Without it, nodes stay in NotReady state.
Install Calico from cp-1:
kubectl apply -f https://docs.projectcalico.org/manifests/calico.yaml
Wait for CNI pods to start:
kubectl get pods -n kube-system -w
Press Ctrl+C once you see all Calico pods running.
Verify pods:
kubectl get pods -n kube-system
Wait until all pods are Running.
Verify Cluster State
kubectl get nodes -o wide
You should see all nodes in a Ready state.
What’s Next
With Kubernetes up and running, the next step is persistent storage.
In the next post, we’ll:
- Install Longhorn
- Configure storage classes
- Validate PVCs and pod storage
➡️ Next: Kubernetes on Proxmox – Persistent Storage with Longhorn
Real-World Platform Engineering in Your Inbox
One email a week. Deep dives on Kubernetes, homelab builds, platform tooling, and building in public from someone who does this for a living.
No fluff, no sponsored blasts. Unsubscribe any time.
Reach Engineers Who Build Platforms
My readers are Staff Engineers, Platform Engineers, and DevOps/SRE leads — the people who evaluate, buy, and recommend infrastructure tooling at their companies.
- → Sponsored posts, newsletter placements, and resource page features available
- → Audience: platform engineering, Kubernetes, GitOps, and homelab builders
- → Formats tailored to technical audiences — no generic ad copy
📚 Part of: Kubernetes Homelab
Related Posts
Kubernetes on Proxmox: GitOps Automation with ArgoCD
Implement GitOps workflows for automated, declarative deployments using ArgoCD - manage your entire homelab from Git
Kubernetes on Proxmox: Secure Your Apps with HTTPS and cert-manager
Add automatic HTTPS with Let's Encrypt certificates using cert-manager, securing your Kubernetes applications with trusted SSL/TLS.
Kubernetes on Proxmox: Deploying Your First Real Application
Deploy a complete stateful application using persistent storage, ingress routing, and DNS in your homelab Kubernetes cluster.